Active Storage を試してみた
railsの5.2.0以上から、Active Storage という、モデルオブジェクトにファイルの添付を容易に実現できる機能が使えるようになっています。
それだけでなく、クラウドストレージサービスへのアップロードも容易に行えます。
試してみたところ、とても簡単でした!!
試してみたので、そのやり方について書いておこうと思います。
やり方の大まかな流れ
1.事前準備
2.Active Strageをインストール
3.紐付けたいモデルにActive Storageの設定を追記
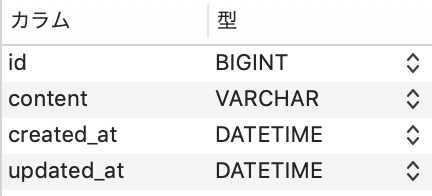
今回はtweetsテーブルという、以下のようなテーブルに、Active Storageを使ってimageという画像のカラムを紐づけていきます。
1.事前準備
・ImageMagickのインストールがされていなければ以下のコマンドを実行してインストールします。
ImageMagickはコマンドラインから簡単に画像の保存形式の変更ができるツールです。
$ brew install imagemagick
・gemfileにgem 'mini_magick'を追加し、bundle installを行う。
2.Active Stroageのインストールを行う
以下のコマンドを実行し、ActiveStorageのインストールを行います。
$ rails active_storage:install
すると、以下のようなマイグレーションファイルが生成されます。
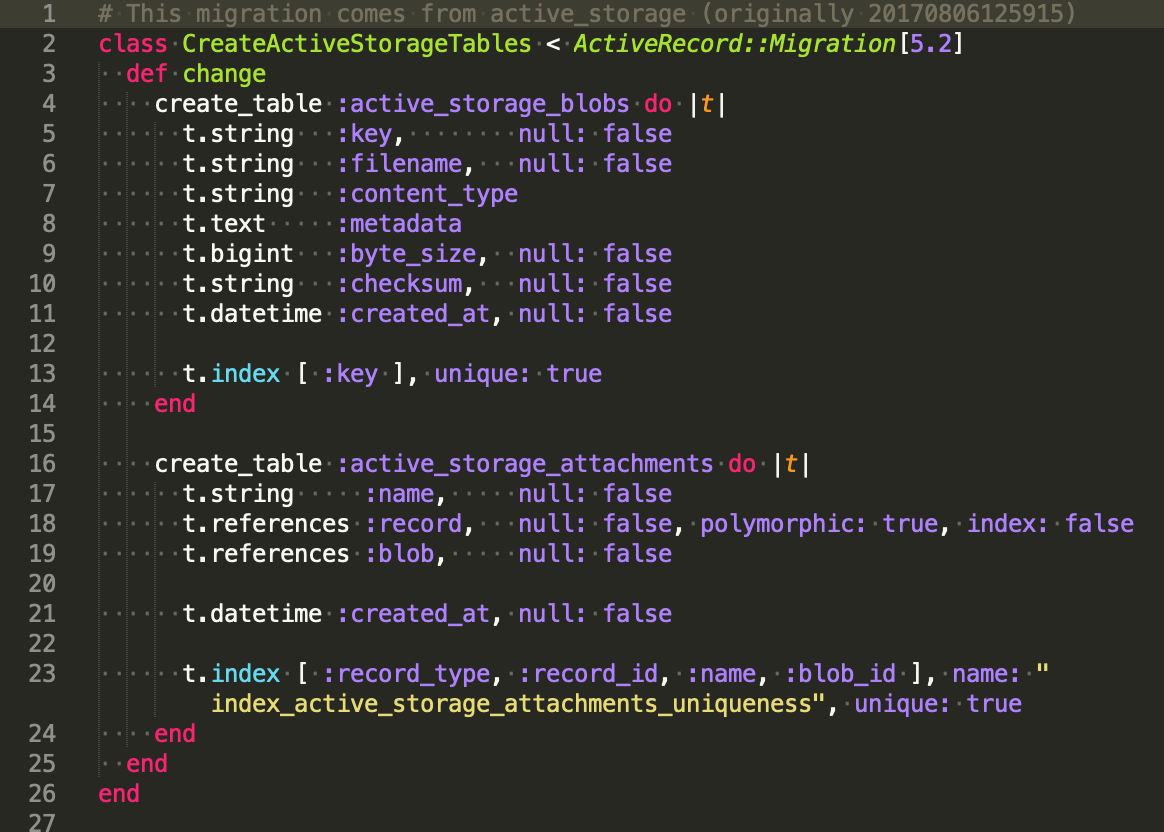
このマイグレーションファイルを実行し、active_storage_blobs と active_storage_attachmentsというテーブルを生成します。
$ rails db:migrate
・config/storage.ymlに以下を追記します。
local:
service: Disk
root: <%= Rails.root.join("storage") %>
test:
service: Disk
root: <%= Rails.root.join("tmp/storage") %>
//外部ストレージサービス使うなら以下を書く。
//ここから下は用いるストレージサービスによって変わる
・config/environments/development.rbに以下を追記します。
config.active_storage.service = :local
・config/environments/production.rbに以下を追記します。(外部ストレージサービス使う場合)
//ここは用いるストレージサービスによって変わる
config.active_storage.service = :amazon
・gemfileに以下のgemを追記します。(外部ストレージサービス使い場合)
3.紐付けたいモデルにActive Storageの設定を追記
Tweetモデルファイルに以下を追記します。
class Tweet < ApplicationRecord
has_one_attached :image
end
・ コントローラのcreateアクションの引数にもimageというパラメーターを許可するようにかきます。
class TweetsController < ApplicationControllerclass TweetsController < ApplicationController
def index
@tweets = Tweet.all
end
def newend
def create
redirect_to controller: :tweets, action: :index
end
private
def tweet_params
params.require(:tweet).permit(:content, :image)
end
end
・new.html.erbは以下のように書きます。
<%= form_for(@tweet) do |f| %>
<%= f.text_field :content, placeholder: '記事を書く' %>
<%= f.file_field :image %>
<%= f.submit 'SEND' %>
<% end %>
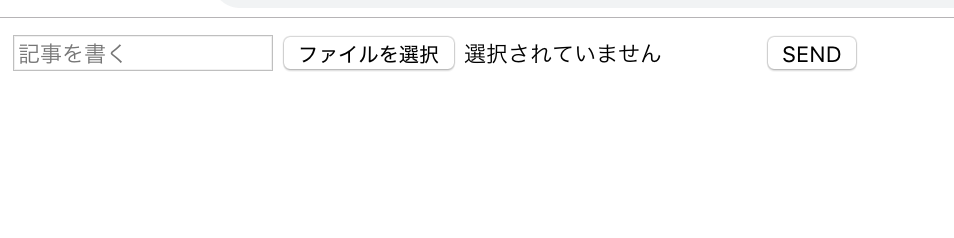
こんな感じの簡素なフォームです。(汗
・index.html.erbは以下のように書きます。
<%= link_to '新規作成', '/tweets/new'%>
<% @tweets.each do |tweet| %>
<div class="content">
<div class="text">
<%= tweet.content %>
</div>
<%= image_tag tweet.image %>
</div>.
<% end %>
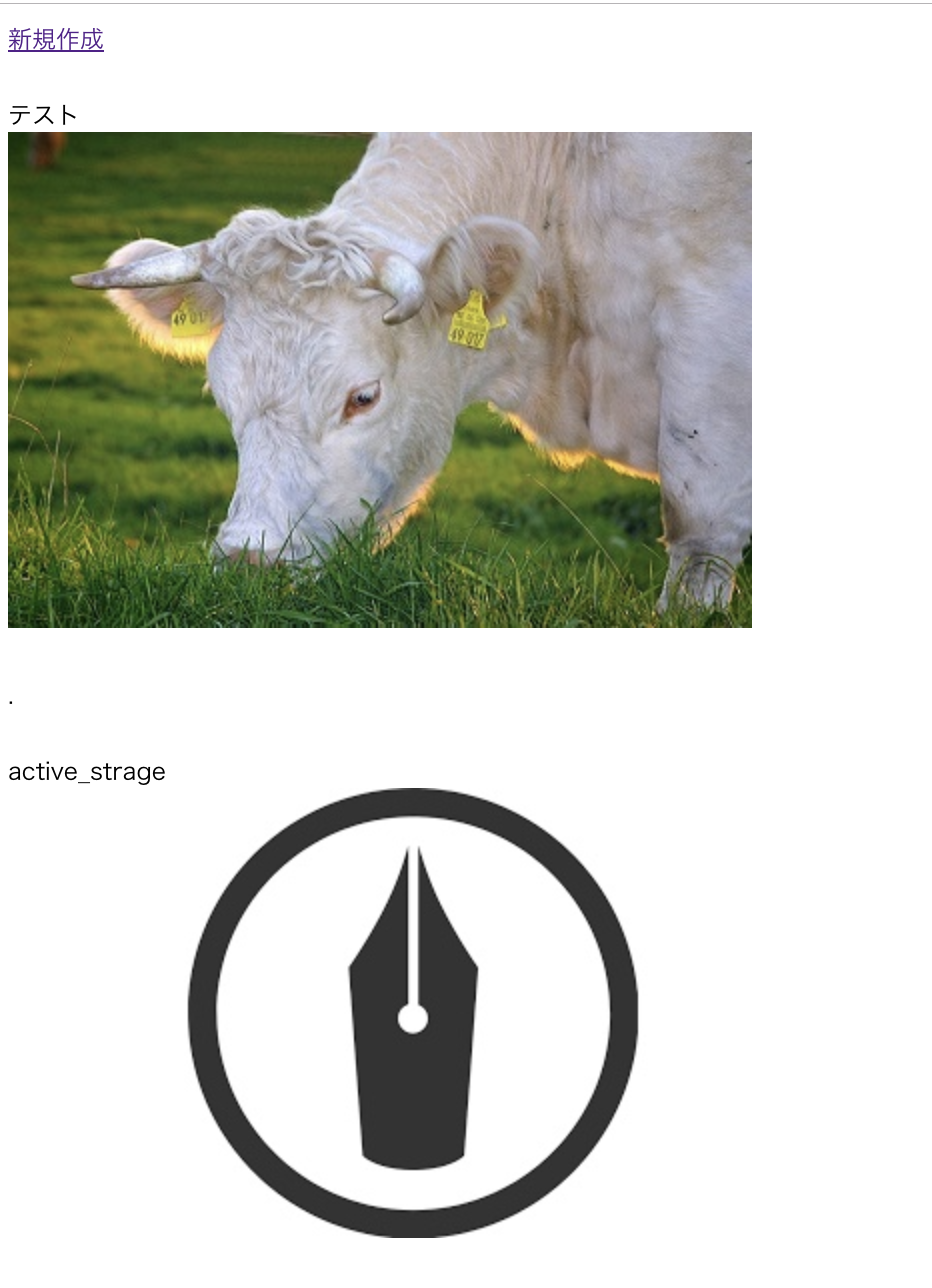
こんな感じに画像と文を表示するだけです。(汗
感想
papercrepやcarreawaveのgemを使うよりとても簡単にできたので、これからはこちらを積極的に使っていこうと思います!